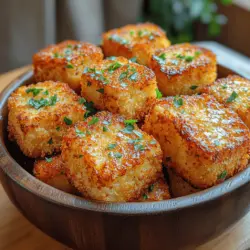
Crunchy Air-Fried Chickpea Croutons: A Healthy Twist on a Classic Snack
In recent years, chickpeas have surged in popularity, becoming a staple in many modern diets. Known for their versatility, chickpeas are a fantastic source of plant-based protein and fiber, making them an ideal ingredient for a variety of dishes, from salads to stews. With the rise of health-conscious eating, people are exploring innovative ways to incorporate chickpeas into their meals, leading to the creation of chickpea croutons. These crunchy bites not only add texture to salads and soups but also serve as a nutritious snack on their own.
The concept of chickpea croutons is simple yet ingenious. By taking a humble legume and transforming it into a crispy topping, they provide an excellent alternative to traditional croutons made from bread. Not only do chickpea croutons offer a gluten-free option, but they also pack a nutritional punch, making them a favorite among health enthusiasts and home cooks alike. Furthermore, air frying these little nuggets allows for a healthier cooking method that uses significantly less oil than traditional frying, all while achieving that coveted crispiness.
One of the standout features of this recipe is its simplicity. With just a handful of ingredients and minimal preparation, you can whip up a batch of crunchy air-fried chickpea croutons in no time. The result is a flavorful snack that can elevate your salads, add crunch to soups, or even serve as a satisfying on-the-go snack.
Understanding the Ingredients
To create the perfect batch of crunchy air-fried chickpea croutons, it’s essential to understand the star ingredient: chickpeas. Also known as garbanzo beans, these legumes are not only delicious but also incredibly nutritious. They are packed with high-quality protein and are rich in dietary fiber, which can aid in digestion and help you feel fuller for longer. This makes them an excellent choice for those looking to maintain a balanced diet or make healthier eating choices.
Chickpeas are versatile and can be incorporated into countless dishes, whether it’s hummus, curries, or salads. Their neutral flavor allows them to take on the taste of the seasonings they’re paired with, making them an excellent canvas for culinary creativity.
When it comes to the seasoning for our chickpea croutons, we’ll be using a combination of ingredients that not only enhance flavor but also provide additional health benefits.
– Olive Oil: A staple in Mediterranean diets, olive oil is known for its heart-healthy properties. Rich in monounsaturated fats, it can help reduce inflammation and lower cholesterol levels. Additionally, it acts as a flavor enhancer, giving the chickpeas a deliciously rich taste.
– Smoked Paprika: This spice adds depth and a hint of smokiness to the croutons, elevating their flavor profile. Smoked paprika is not only flavorful but is also packed with antioxidants, making it a healthy addition to your cooking.
– Garlic and Onion Powder: These two ingredients are essential for adding a savory kick to the chickpeas. Garlic is known for its immune-boosting properties, while onion powder contains antioxidants and may have anti-inflammatory effects. Together, they create a robust base of flavor that complements the nuttiness of the chickpeas.
– Salt and Pepper: These basic seasonings are crucial for balancing the flavors. Salt enhances the overall taste, while freshly cracked pepper adds a subtle warmth.
– Optional Ingredients: For those looking to customize their chickpea croutons further, cayenne pepper can be added for a spicy kick, or fresh herbs like rosemary or thyme can be sprinkled in for an aromatic touch.
Preparation Steps for Crunchy Air-Fried Chickpea Croutons
Preheating the Air Fryer
The first step in creating perfectly crunchy chickpea croutons is to preheat your air fryer. Preheating is crucial for achieving the best texture, as it ensures that the chickpeas start cooking immediately upon entering the fryer. Set your air fryer to a temperature of 400°F (200°C) for optimal cooking. Allow it to preheat for about 5 minutes while you prepare the chickpeas.
Preparing the Chickpeas
Next, it’s time to prepare the chickpeas. Start by draining and rinsing one can (15 ounces) of chickpeas under cold water. This step is essential to remove the excess sodium and any canning liquids. After rinsing, transfer the chickpeas to a clean kitchen towel or paper towels. To achieve maximum crunchiness, it’s important to dry the chickpeas thoroughly. Gently pat them down to remove any moisture; this will help them crisp up beautifully in the air fryer.
Seasoning the Chickpeas
Once your chickpeas are dry, it’s time to season them. In a mixing bowl, combine your dried chickpeas with olive oil, smoked paprika, garlic powder, onion powder, salt, and pepper. The ratio can be adjusted to suit your taste preferences, but a general guideline is about 1 tablespoon of olive oil and 1 teaspoon each of the spices per can of chickpeas. Toss the chickpeas in the bowl until they are evenly coated with the oil and spices. This step is vital, as it ensures every chickpea is infused with flavor.
For those who enjoy experimenting with spices, consider adding additional seasonings at this stage. A pinch of cayenne pepper will introduce a delightful heat, while dried herbs can enhance the flavor further. Be creative and tailor the seasoning to your liking!
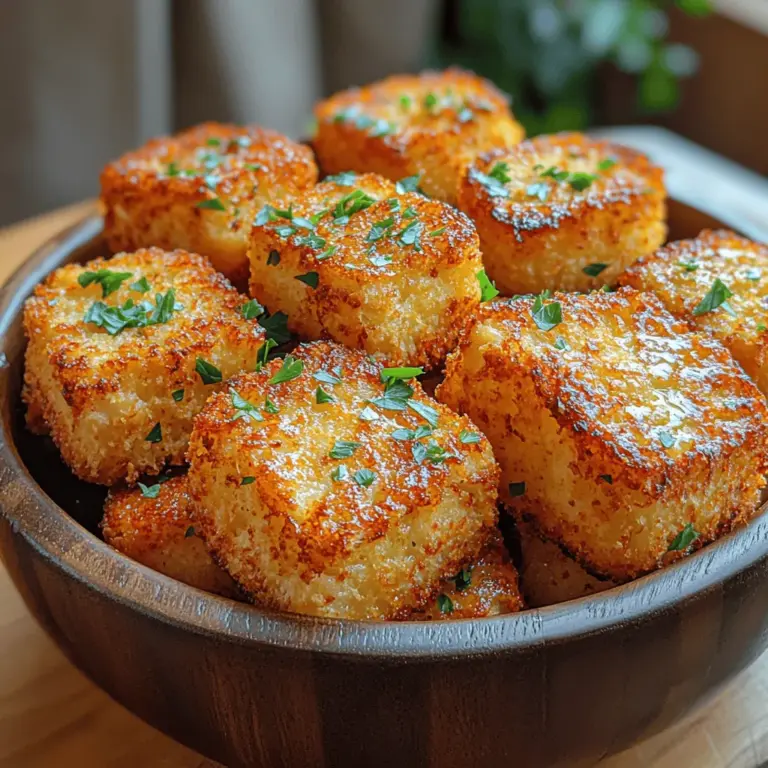
With the preparation steps completed, you’re ready to move on to the cooking process, where the magic truly happens. The air fryer will transform your seasoned chickpeas into crunchy, flavorful croutons that are sure to impress.
Stay tuned for the next section, where we delve into the cooking process that will give your chickpea croutons the perfect crunch!
{{image_2}}
Air Frying the Chickpeas
Once you’ve seasoned your chickpeas to perfection, it’s time to air fry them and transform them into crunchy croutons. Begin by preheating your air fryer to 400°F (200°C). This initial heat will help ensure that the chickpeas start cooking evenly as soon as they hit the basket.
Tips for Arranging Chickpeas in the Air Fryer Basket
When placing the chickpeas in the air fryer, it’s crucial to arrange them in a single layer. This allows hot air to circulate freely around each chickpea, promoting even cooking and crispiness. If your air fryer has a smaller capacity, consider dividing the batch into two or more portions to avoid overcrowding. Overcrowding can lead to steaming rather than frying, preventing that delightful crunch you’re aiming for.
Importance of Shaking the Basket for Even Cooking
As the chickpeas cook, make it a practice to shake the basket halfway through the cooking process. This simple step redistributes the chickpeas, allowing all sides to be exposed to the hot air. It’s not just about cooking; it’s about achieving that golden-brown color and perfect crunch. Aim to shake the basket about 10 minutes into the cooking time, and then again a few minutes before they are done.
Monitoring Cooking Time and Color for Perfect Results
Typically, air frying chickpeas takes around 12 to 15 minutes. However, keep a close eye on them, especially towards the end of the cooking time. The color is key; they should appear golden brown and have a delightful crisp texture. Remember, they will continue to cook slightly even after being removed from the air fryer, so it’s best to err on the side of caution and pull them out just before they reach your desired level of crunch.
Achieving the Perfect Crunch
The ultimate goal is to achieve a satisfying crunch that can elevate your salads, soups, or even serve as a standalone snack.
Signs That Indicate the Chickpeas Are Done
You’ll know your chickpeas are done when they have a deep golden hue and a crisp outer texture. If you bite into one, it should be firm and crunchy, not chewy or soft. If they still seem a bit soft after the initial cooking time, give them a few extra minutes. Always remember that the more you air fry them, the crunchier they will become, but be careful not to burn them.
Cooling Process to Enhance Crunchiness
Once they are done, immediately transfer the chickpeas to a plate lined with a paper towel. This will help absorb any excess oil and moisture, enhancing their crunchiness. Allow them to cool completely before storing. If you taste them while still warm, you may notice they are not as crunchy as they will be after cooling.
Serving Suggestions
Crunchy air-fried chickpea croutons are versatile and can elevate a variety of dishes. Here are some creative ideas for incorporating them into your meals:
Salads: Adding Texture and Protein
One of the best ways to enjoy chickpea croutons is by tossing them into your salads. Their crunchy texture adds a delightful contrast to the fresh greens and makes the salad more filling. Consider pairing them with a simple lemon vinaigrette or a creamy dressing to balance the flavors. They work well in Mediterranean salads, grain bowls, or even classic Caesar salads for a plant-based twist.
Soups: A Crunchy Topping to Enhance Flavors
Chickpea croutons also make an excellent topping for soups. They add a delightful crunch that complements creamy soups like tomato basil or butternut squash. Just sprinkle a handful on top before serving, and enjoy the added texture alongside the rich flavors of your soup.
Snack Options: Enjoying Them on Their Own or with Dips
If you’re in the mood for a nutritious snack, simply munch on these crunchy croutons as they are. Alternatively, pair them with dips such as hummus, tzatziki, or guacamole. Their unique flavor profile makes them an enjoyable option for any snacking occasion, whether you’re watching a movie or entertaining friends.
Presentation Tips: Garnishing with Fresh Herbs for Added Appeal
To elevate the presentation of your dishes featuring chickpea croutons, consider garnishing with fresh herbs such as parsley, cilantro, or chives. This not only adds a pop of color but also enhances the overall flavor of your meal. A sprinkle of freshly cracked black pepper or a drizzle of balsamic glaze can also take your dish to the next level.
Storage and Recrisping
If you find yourself with leftover chickpea croutons (though we doubt they’ll last long!), proper storage is essential to maintain their crispy texture.
Best Practices for Storing Leftover Chickpea Croutons
Store any leftover chickpea croutons in an airtight container at room temperature. This helps to keep them crunchy and prevents moisture from getting in. Make sure they are completely cool before sealing the container to avoid steam buildup, which can lead to sogginess.
Airtight Containers and Room Temperature Storage
A good-quality airtight container is key to prolonging the freshness of your chickpea croutons. Glass jars or plastic containers with tight-fitting lids work well. Avoid using paper bags, as they do not provide an adequate seal against air and moisture.
Duration for Maintaining Freshness
When stored properly, chickpea croutons can last for about 3 to 5 days at room temperature. However, for the best texture, it’s recommended to consume them within the first few days after cooking.
Tips for Recrisping Chickpeas in the Air Fryer
If your croutons lose some of their crunchiness, don’t worry! You can easily recrisp them in the air fryer. Simply preheat the air fryer to 350°F (175°C), spread the croutons in a single layer in the basket, and air fry them for about 3 to 5 minutes. Keep a close watch to ensure they don’t burn and enjoy that delightful crunch once again.
Simple Steps to Revive the Crunch
1. Preheat your air fryer to 350°F (175°C).
2. Spread the chickpea croutons in a single layer in the basket.
3. Air fry for 3 to 5 minutes, shaking the basket halfway through.
4. Remove and let cool before enjoying.
Nutritional Information
In addition to being deliciously crunchy, chickpea croutons are also a healthy addition to your diet. Here’s a breakdown of the nutritional content per serving (approximately 1/4 cup):
– Calories: 120
– Protein: 6g
– Fat: 3g
– Carbohydrates: 18g
– Fiber: 5g
Health Benefits of Incorporating Chickpea Croutons Into Your Diet
Chickpeas are packed with nutrients, making them a powerhouse ingredient. They are high in protein, which is essential for muscle growth and repair, and they are an excellent source of dietary fiber, promoting digestive health. The healthy fats found in olive oil (if used) can support heart health. Additionally, chickpeas are rich in vitamins and minerals such as iron, magnesium, and folate, contributing to overall health and well-being.
Conclusion
Making crunchy air-fried chickpea croutons is not only simple but also a fantastic way to incorporate healthy ingredients into your meals. With their satisfying crunch and versatility, they can elevate salads, soups, and snacks alike. Don’t hesitate to experiment with different seasonings and flavor combinations to find your perfect blend.
Whether you enjoy them as a protein-packed addition to your meals or as a delightful snack, chickpea croutons are sure to become a staple in your kitchen. Enjoy the journey of healthy cooking and the satisfaction of creating delicious, nutritious snacks that everyone will love.